So the box is now out...
Looks a lot smaller than i thought it would be. Still, as long as its up to the job... which is the new debate.
According to google research the Getrag 290 is a bit beefier than the T5. All good. It also seems to be common fit in Holdens, which supports the theory it was chopped about in Oz along with the RHD conversion. It also has a fairly blatant speedo port which is blanked off by what looks like a factory fitted plate, suggesting that the original car for the Getrag had an electronic ECU powered speedo, and also why my mechanical one has sat limp since day one. Pretty lazy to never bother fitting a speedo!!
...so the jury is still out on that. But back to the point of the box being out... The release bearing:
Pulled it out and it seemed (in my opinion) to be ok. Tits. I was really hoping to find a half raped and fully buggered bearing there, but it just doesnt seem that bad. The annoyance is that i now do not know what was making the hellish grinding noise when the clutch was out, and vanished when it was depressed .My worry is that it was the box itself... Might be time to give up and seek specialist opinions on the box's condition... Exhibit B above for the box being a bastardisation, the started bell on the righthand side is unneccesary. whereas there is a crude cutout on the left for the current starters engagement gear...
The good news is the clutch looks beefy:
...not to mention in good condition:
...so at least that doesnt need changed! Mind you, as i write this i am debating pulling it all out as well in a bid to find what is making all the noise. I guess it *may* be the clutch, but i doubt it... and you know the rule.... if its out, might as well upgrade it with a totally ludicrous twin plate number!
Now for Exhibit C in the case for the box being dicked about with: The clutch slave cylinder has been extended with additional flexi hose to reach a position on the offside of the car. Indeed, it may be that third gen camaros do not even run hydro clutch systems, and have cables instead...
Suggestions welcome. Other tasks completed this week include fitting rather beastly big twin pot calipers to the AW11:
Old ones on the top and new ones on the bottom. Not too big but can now clear a larger caliper... Will do a proper write up on that in due time...

Thursday, 30 June 2011
Monday, 27 June 2011
The gearbox is unveiled
So today i decided to stop pussying about. I got in about the gearbox and started to pull it out in preparation for the release bearing change. This it seems was the high point of the day...
Whilst about under there i managed to unearth an ID plate on the box, something previously unseen by me. The box has now been formally identified: A Getrag 290.
A bit of online research seems to show that its a bit better than the suspected T5. Maybe something to do with the Aussie influence?
Anyway, needs to come out regardless, as the release bearing is toast. First up, taking the prop out. 4 bolts hold the rear UJ on, and this seemed the simplest solution to removal....
...and the bearings on the prop taped up to keep them from running away...
With this loose the shaft pulled out from the box with ease, and the dribble of oil inside caught in mums finest basin:
...leaving me with this:
Big meaty shaft! With this out i could focus on getting the box away from the block with no interference. All the bellhousing bolts loosened, then the gearbox mount removed. Not the simplest of jobs on this Camaro for some reason, as there is a massive 10mm thick plate to remove too, which looks far from stock:
As far as i can see its only purpose is to support the propshaft brace. Are these normal fit on Gen 3's?
So thats where play was left today. The box is ready to pull out and sitting on an axle stand. May seem like a weak effort but i also rewired the Mercs head unit and found aftermarket rear speakers are installed in the back (bonus), serviced the new ST185 calipers for the MR2 (handy), and finished this:
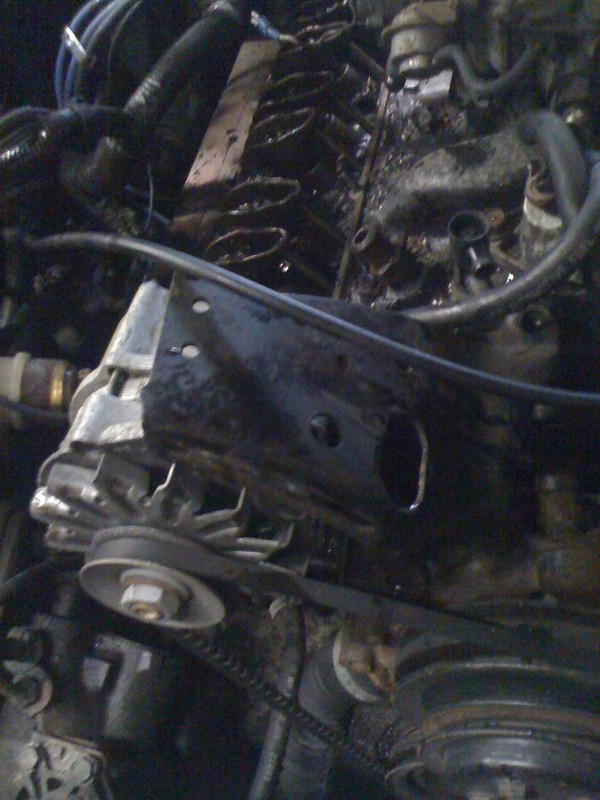
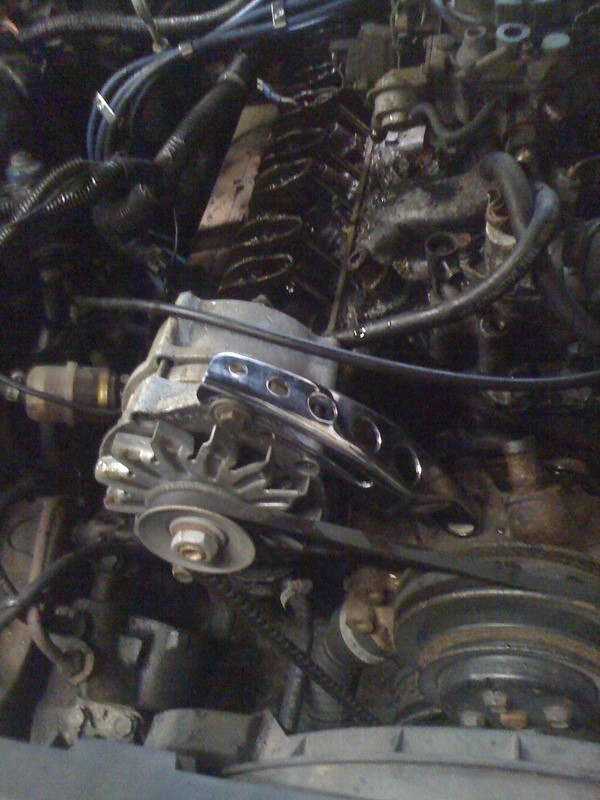
...re-tapped teh alt bracket mount on the waterpump housing. This will need a new gasket but is otherwise good to go!
Friday, 24 June 2011
Camaro.. wheely gettin on now...
Remember that engine mount? Well i spent all day on the recipient car, getting the engine fitted. Happy to report that all went very well, mount worked and the car is coming along nicely:
And heres a wee pic of it doing its job from afar....
...and a cheeky bum shot of the car in question...
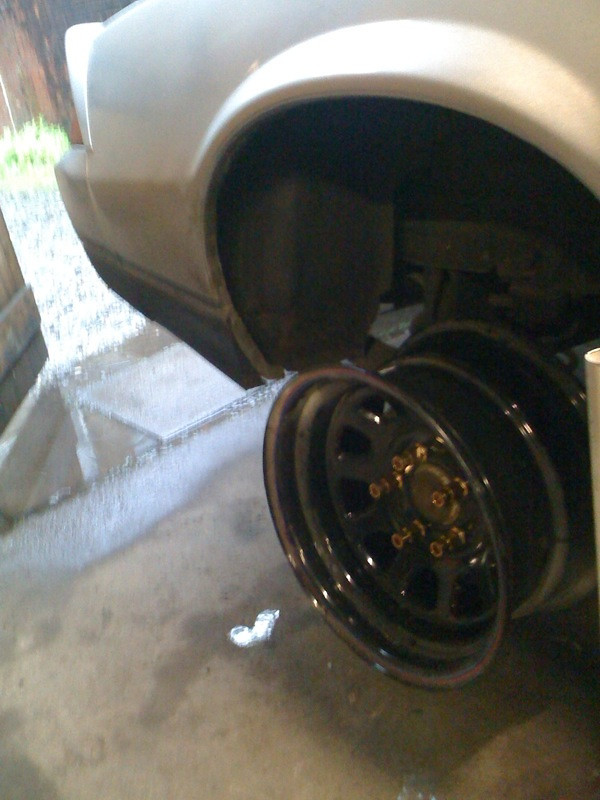
Anyway, back to the Camaro. It was pretty late by the time i got back to Glasgow so i was somewhat limited in what i could do. Decided to get the car up in the air and have a proper root about underneath to check for any surprises. I also intend on pulling the gearbox out soon so might as well get started on it just now. Whilst it was up it seemed rude not to try on the new Cragars and check fitment:
Fronts are on fine with no fouling. Nice shiny anodized nuts too! And the rears....
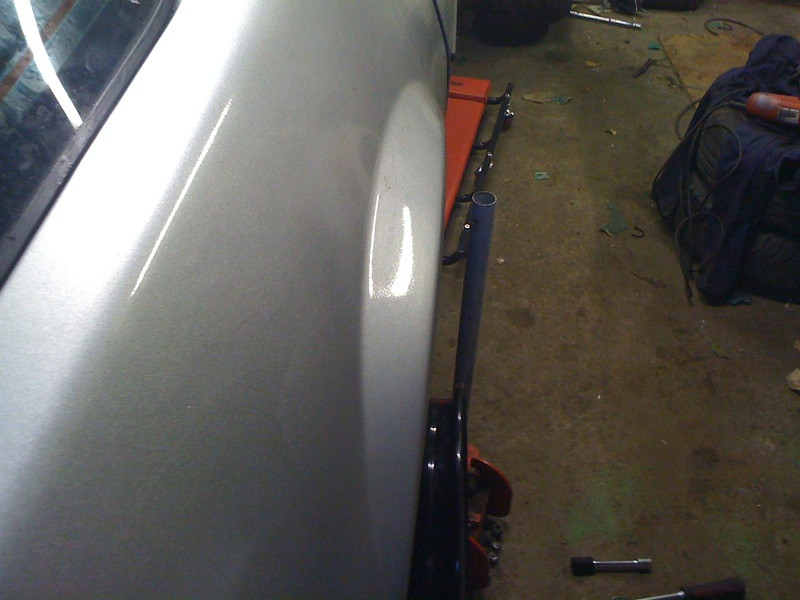
..bit dusty but fit fine! Stick out a touch from the arch but i dont see it being a great problem.
Now, onto more detailed work. Decided it was time to address the restrictive emissions spec exhaust. First off, break it at the cat. 3 out of 4 bolts off without shearing... not bad:
but more surprises were afoot. Half expecting to find a massively restricted cat mesh inside, i was taken aback by this:
Not sure if this has been modified or what, but i guess its not as restrictive as i first guessed. What is though, is the headers, or more rather the butterfly valve between the header and Y pipe:
I gather this blocks off one side of the engines exhaust gasses for cold running or something. Utter pish to be honest, and wont be going back in! Neither will the appalingly restrictive manifold above it if i'm being honest...
Next up was the waterpump. I gave up trying to source a cap screw the correct thread and size to attach the chrome alternator bracket, so the easier option was to haul it all off and re-tap the thread on the pump housing for a metric thread...
This will get a coat of paint before going back in as well, as its a pretty prominent part of the underbonnet view and looks horrid at the moment!!
The Aircon also had components remaining, namely the last part of the exchanger... Out it comes too:
...leaving me with this:
The fan is also part of this underbonnet assembly, but it takes up so much room i can see it being disgarded and replaced with a more space friendly unit...
...but thats further down the line. The most important thing right now is...
1) Getting the tubular headers on. These wouldnt fit in the gaps so the block may need to come out for these to be fitted
2) The wiring under there needs a massive rethink. Found the starter to be plumbed in with household 2 pair flex, which had unsurprisingly deteriorated and was shorting on the block. Not good for the new battery!!
Most of the erroneous EFI wiring has been removed from under the bonnet, but i still need to work out what this black box next to the brake fluid filler does:
... its believed to be EFI gubbins but dont want to disconnect it until i can be sure. Naturally with the engine so dissassembled i couldnt just unplug it and see if it killed the engine. Groan...
Monday, 20 June 2011
Progress continues - Dizzy heights!!
Another day to attack the car, but i had a cheeky job for another party to attend to first.
My brother has a Polo breadvan that we are converting to 5 speed with a golf 1.4 lump and injection. 2 of the 3 engine mounts tallied up but the last one gave some grief. In the end it was simpler to just fabricate up a new one from the 2 existing ones. Cue some creative angle grinding and a stint with the welder, and we were left with something like this:
Will try and get a pick of that in place tomorrow once its fitted.
So with that done i could focus on the Camaro... before i did anything i popped the mahoosive bonnet off. Find i work better without a succession of concussions from battering my head on that thing every 2 minutes.
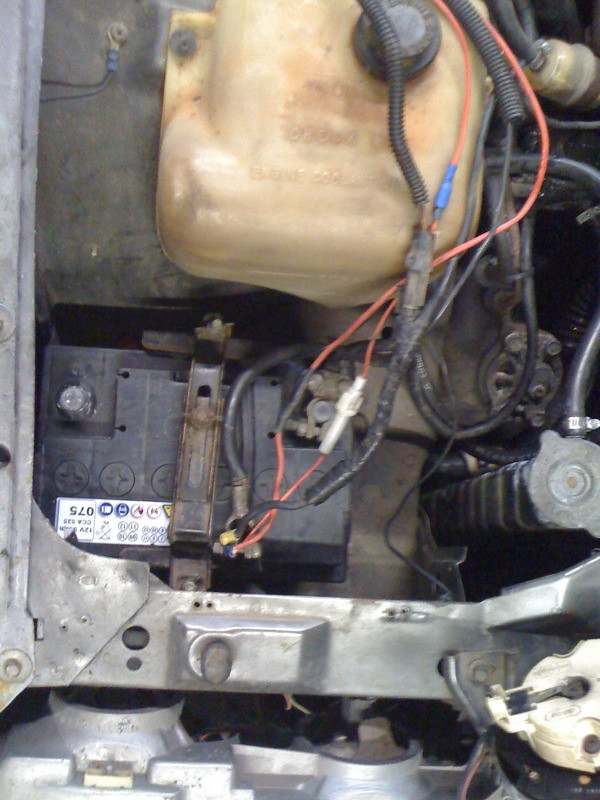
First job was to change out the dead battery. May seem strange to do this at the start of a build but i will be doing many things that require an engine start to confirm it has worked so a new battery seemed like a simpler option than continual jump-starts and doubt! The only problem was that the cheapest battery i could find up to the job had the posts in different locations to the cars loom:
The connected post above was the earth. The live feed(s) did stretch with a bit of relocating:
But a much neater solution will have to be made for that... its far too untidy for my liking, plus half of those live feeds i have no idea about!
With the car starting again i decided to crack on with one of the jobs previously mentioned that "needed a start" for confirmation... the new dizzy! An inspection of the old one confirmed my suspicions:
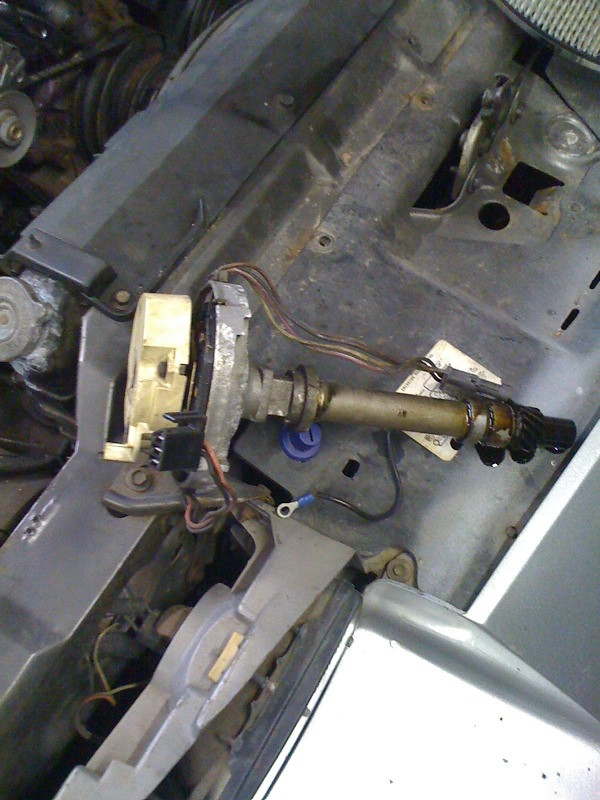
That coil pick-up in the centre of the rotor arm was crumbling. Solution? Rip the whole lot out:
And get the shiny new HEI number in...
Vacuum advance rather than the electronic pish that was on the car. Need to get a vac feed from the carb sorted out (IE find where it can be tapped from!) Aligned it up as close as i could and secured it down with...
...a chrome securing fork. Incredibly it was on the car already, and a wee scrub brought it up all shiny shiny again. So back on with the cap:
...and on with the leads and filter:
...and it was time for a test fire. Runs fine but there was a hell of a squeal from under there. I hope its due to the alternator belt as it was soaked from having the heater lines off and being out of alignment due to that missing cap bolt.
Friday, 17 June 2011
The long awaited debut - Camaro meets Spanners.
I have waited 6 months for this day. I finally get a crack into the Camaro, modification in anger!!!
Had 4 hours to play with so cracked into some engine dress up. After a fruitful harvest of wires (20% of which actually had a purpose in there) i could see basic engine. First to come off, the rocker covers:
This allowed me to see the general condition in there. Stock rockers but all in all its seems in good condition. Oil was even fairly fresh looking!
Next up, removal of more 10mm gauge steel bracketry:
now you see it....
...now you dont. Still need to find a cap screw to secure the pump end of that bracket. Next up, the rocker covers:
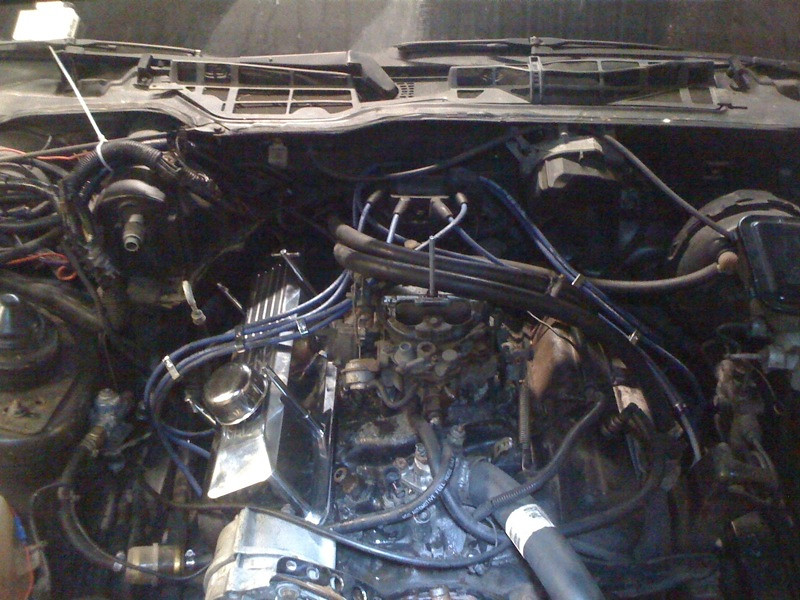
Hight top billet alloy covers with push in chrome breathers. New cork gaskets and T bar handles to secure it all down. One side done...
...and the other side to match. Starting to look a lot more like a V8 now. You may note the rather horrid looking manifolds letting the side down. I agree, so enter these:
Freshly wrapped 4 into one manifolds. Well... one of them. I ran out of exhaust wrap so these will have to wait before i can fit them. Look good though.
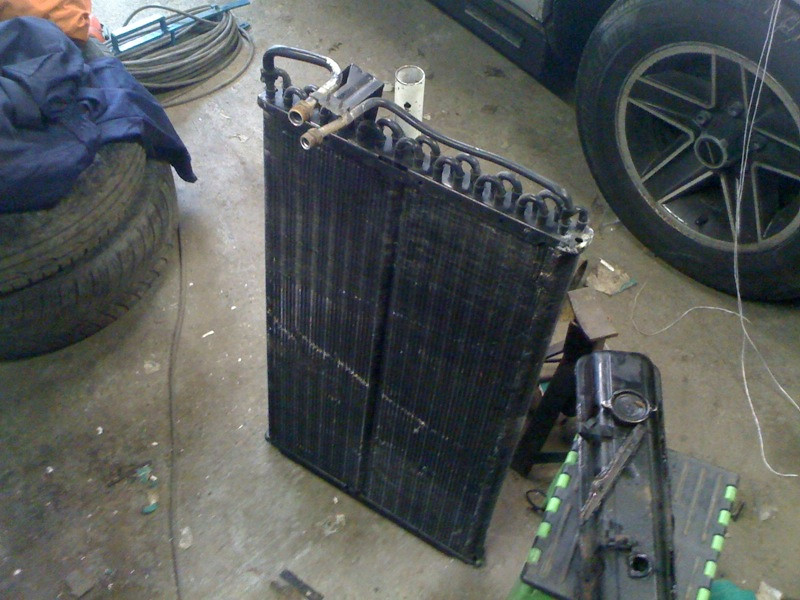
As i was running low on time i decided to finish the aircon delete and pull out the core from in front of the radiator. After a faff I was left with this:
A core that resembles a full size car radiator. Wasnt the lightest either. So we have reduced about 3kg all in today... not bad going. I have also developed a better idea of what needs done and what still needs bought on this project... I still need:
*A new clutch release bearing. The drive to the garage from its 6 month resting place drove that point home. Depending on the state of the clutch i may replace this too.
* All remaining engine components need fitted. Dependant on how enthusiastic i go with the overhaul i may need a full gasket kit to complete this, just to be on the safe side...
* Exhaust. The new headers once fitted will mate to no available system for a gen 3 Camaro. Will have to get a bit custom with that, and i may outsource it too. Could be the most expensive outstanding purchase for the car.
* Interior. I have a few bits to fit but new seats are a must, along with the potential for a rollcage. More to come on that.
* Wheels. These are bought, but the tires are not. Plans are developing for that conundrum.
After that list its really down to paint then, unless i find more issues along the way. Mind you, most of the components will be serviced by this point anyway, so i cant imagine there is much left for me to do after that point but drive it!!!
Subscribe to:
Comments (Atom)


