
Remember that engine mount? Well i spent all day on the recipient car, getting the engine fitted. Happy to report that all went very well, mount worked and the car is coming along nicely:

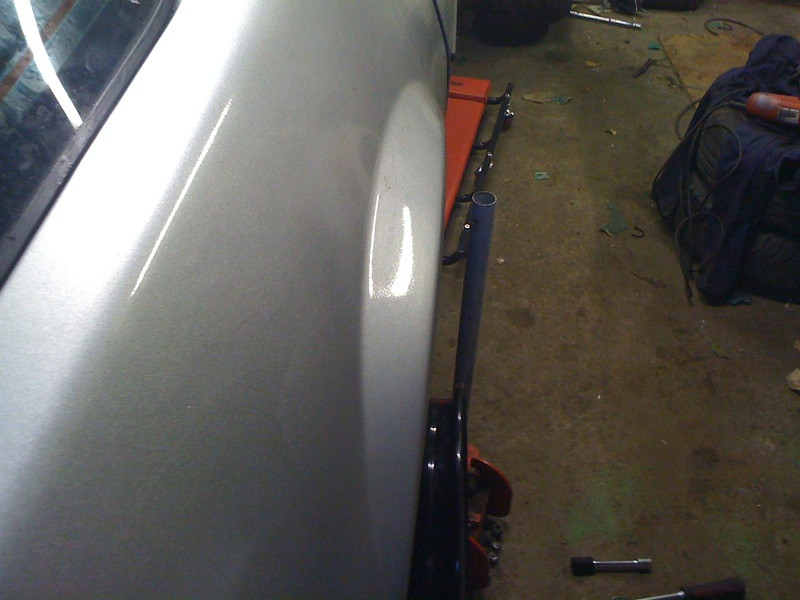
And heres a wee pic of it doing its job from afar....

...and a cheeky bum shot of the car in question...

Anyway, back to the Camaro. It was pretty late by the time i got back to Glasgow so i was somewhat limited in what i could do. Decided to get the car up in the air and have a proper root about underneath to check for any surprises. I also intend on pulling the gearbox out soon so might as well get started on it just now. Whilst it was up it seemed rude not to try on the new Cragars and check fitment:
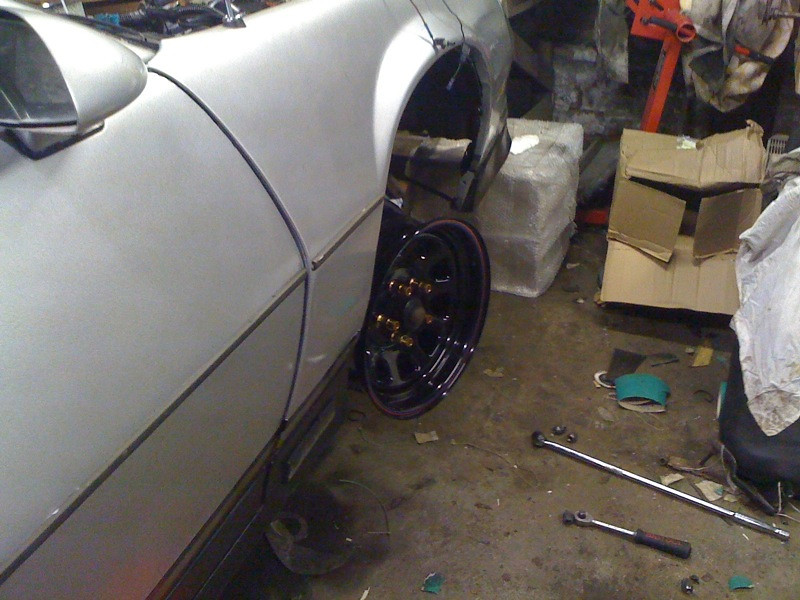
Fronts are on fine with no fouling. Nice shiny anodized nuts too! And the rears....
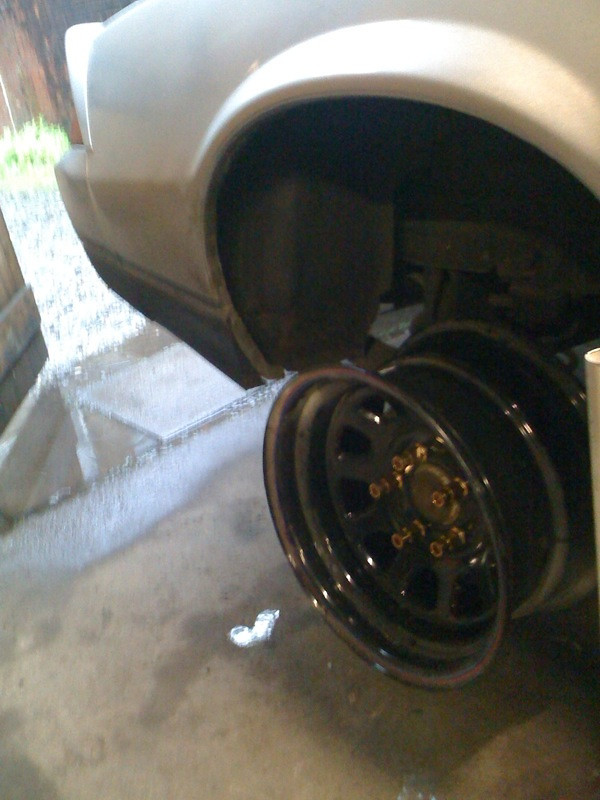
..bit dusty but fit fine! Stick out a touch from the arch but i dont see it being a great problem.
Now, onto more detailed work. Decided it was time to address the restrictive emissions spec exhaust. First off, break it at the cat. 3 out of 4 bolts off without shearing... not bad:

but more surprises were afoot. Half expecting to find a massively restricted cat mesh inside, i was taken aback by this:

Not sure if this has been modified or what, but i guess its not as restrictive as i first guessed. What is though, is the headers, or more rather the butterfly valve between the header and Y pipe:

I gather this blocks off one side of the engines exhaust gasses for cold running or something. Utter pish to be honest, and wont be going back in! Neither will the appalingly restrictive manifold above it if i'm being honest...
Next up was the waterpump. I gave up trying to source a cap screw the correct thread and size to attach the chrome alternator bracket, so the easier option was to haul it all off and re-tap the thread on the pump housing for a metric thread...


This will get a coat of paint before going back in as well, as its a pretty prominent part of the underbonnet view and looks horrid at the moment!!
The Aircon also had components remaining, namely the last part of the exchanger... Out it comes too:

...leaving me with this:

The fan is also part of this underbonnet assembly, but it takes up so much room i can see it being disgarded and replaced with a more space friendly unit...

...but thats further down the line. The most important thing right now is...
1) Getting the tubular headers on. These wouldnt fit in the gaps so the block may need to come out for these to be fitted
2) The wiring under there needs a massive rethink. Found the starter to be plumbed in with household 2 pair flex, which had unsurprisingly deteriorated and was shorting on the block. Not good for the new battery!!
Most of the erroneous EFI wiring has been removed from under the bonnet, but i still need to work out what this black box next to the brake fluid filler does:

... its believed to be EFI gubbins but dont want to disconnect it until i can be sure. Naturally with the engine so dissassembled i couldnt just unplug it and see if it killed the engine. Groan...
No comments:
Post a Comment